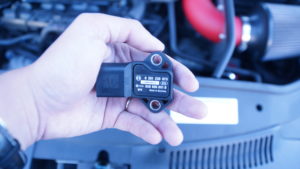
 In this series of servicing all the sensors that may hurt your Eos 2.0T driving performance, we now have come to the last one of them : the Manifold Absolute Pressure sensor, aka MAP. This sensor also exists in other VW that uses 2.0T engine such as Golf GTI, CC, Passat, GLI.
There is a longer and more detailed article explaining what the MAP sensor does, however all you need to know is it monitors engine load and helps determine whether the engine should run lean or rich. Some of the OBDII error codes are P0108, P0106… for instance.
When the engine runs lean, it starves for fuel due to bad reading from the sensor; causing bad fuel/air mixture. And when the engine runs rich, it’s exact the opposite: too much fuel in the combustion chamber and black smoke comes out of the rear exhaust. When the MAP sensor becomes clogged, you’ll notice a decrease in fuel economy, hard acceleration, stalling, rough start in cold weather and it just feels heavy on the pedal.
For our TSI engine, it also affects how the turbo charger provides boost. When the sensor fails, the ECU can’t properly measure boost so it intentionally cuts engine RPMs to avoid any unexpected internal damage. In some case, your Eos may go into Limp Mode which limits the maximum speed to 30~45mph and only stays in first gear.
Speaking of boost. You must also learn that when it comes to boost pressure there are many factors that affects it; such as a boost leak, dirty MAF sensor (which we covered), etc…It may or may not solve that issue, but it’s a good preventive step to run routine maintaince on these sensors to avoid those problems down the line.
![]() DIY Cleaning AIT sensor on your Volkswagen Eos to fix Bad Fuel Consumption and Hesitation
DIY Cleaning AIT sensor on your Volkswagen Eos to fix Bad Fuel Consumption and Hesitation
Tools You’ll Need
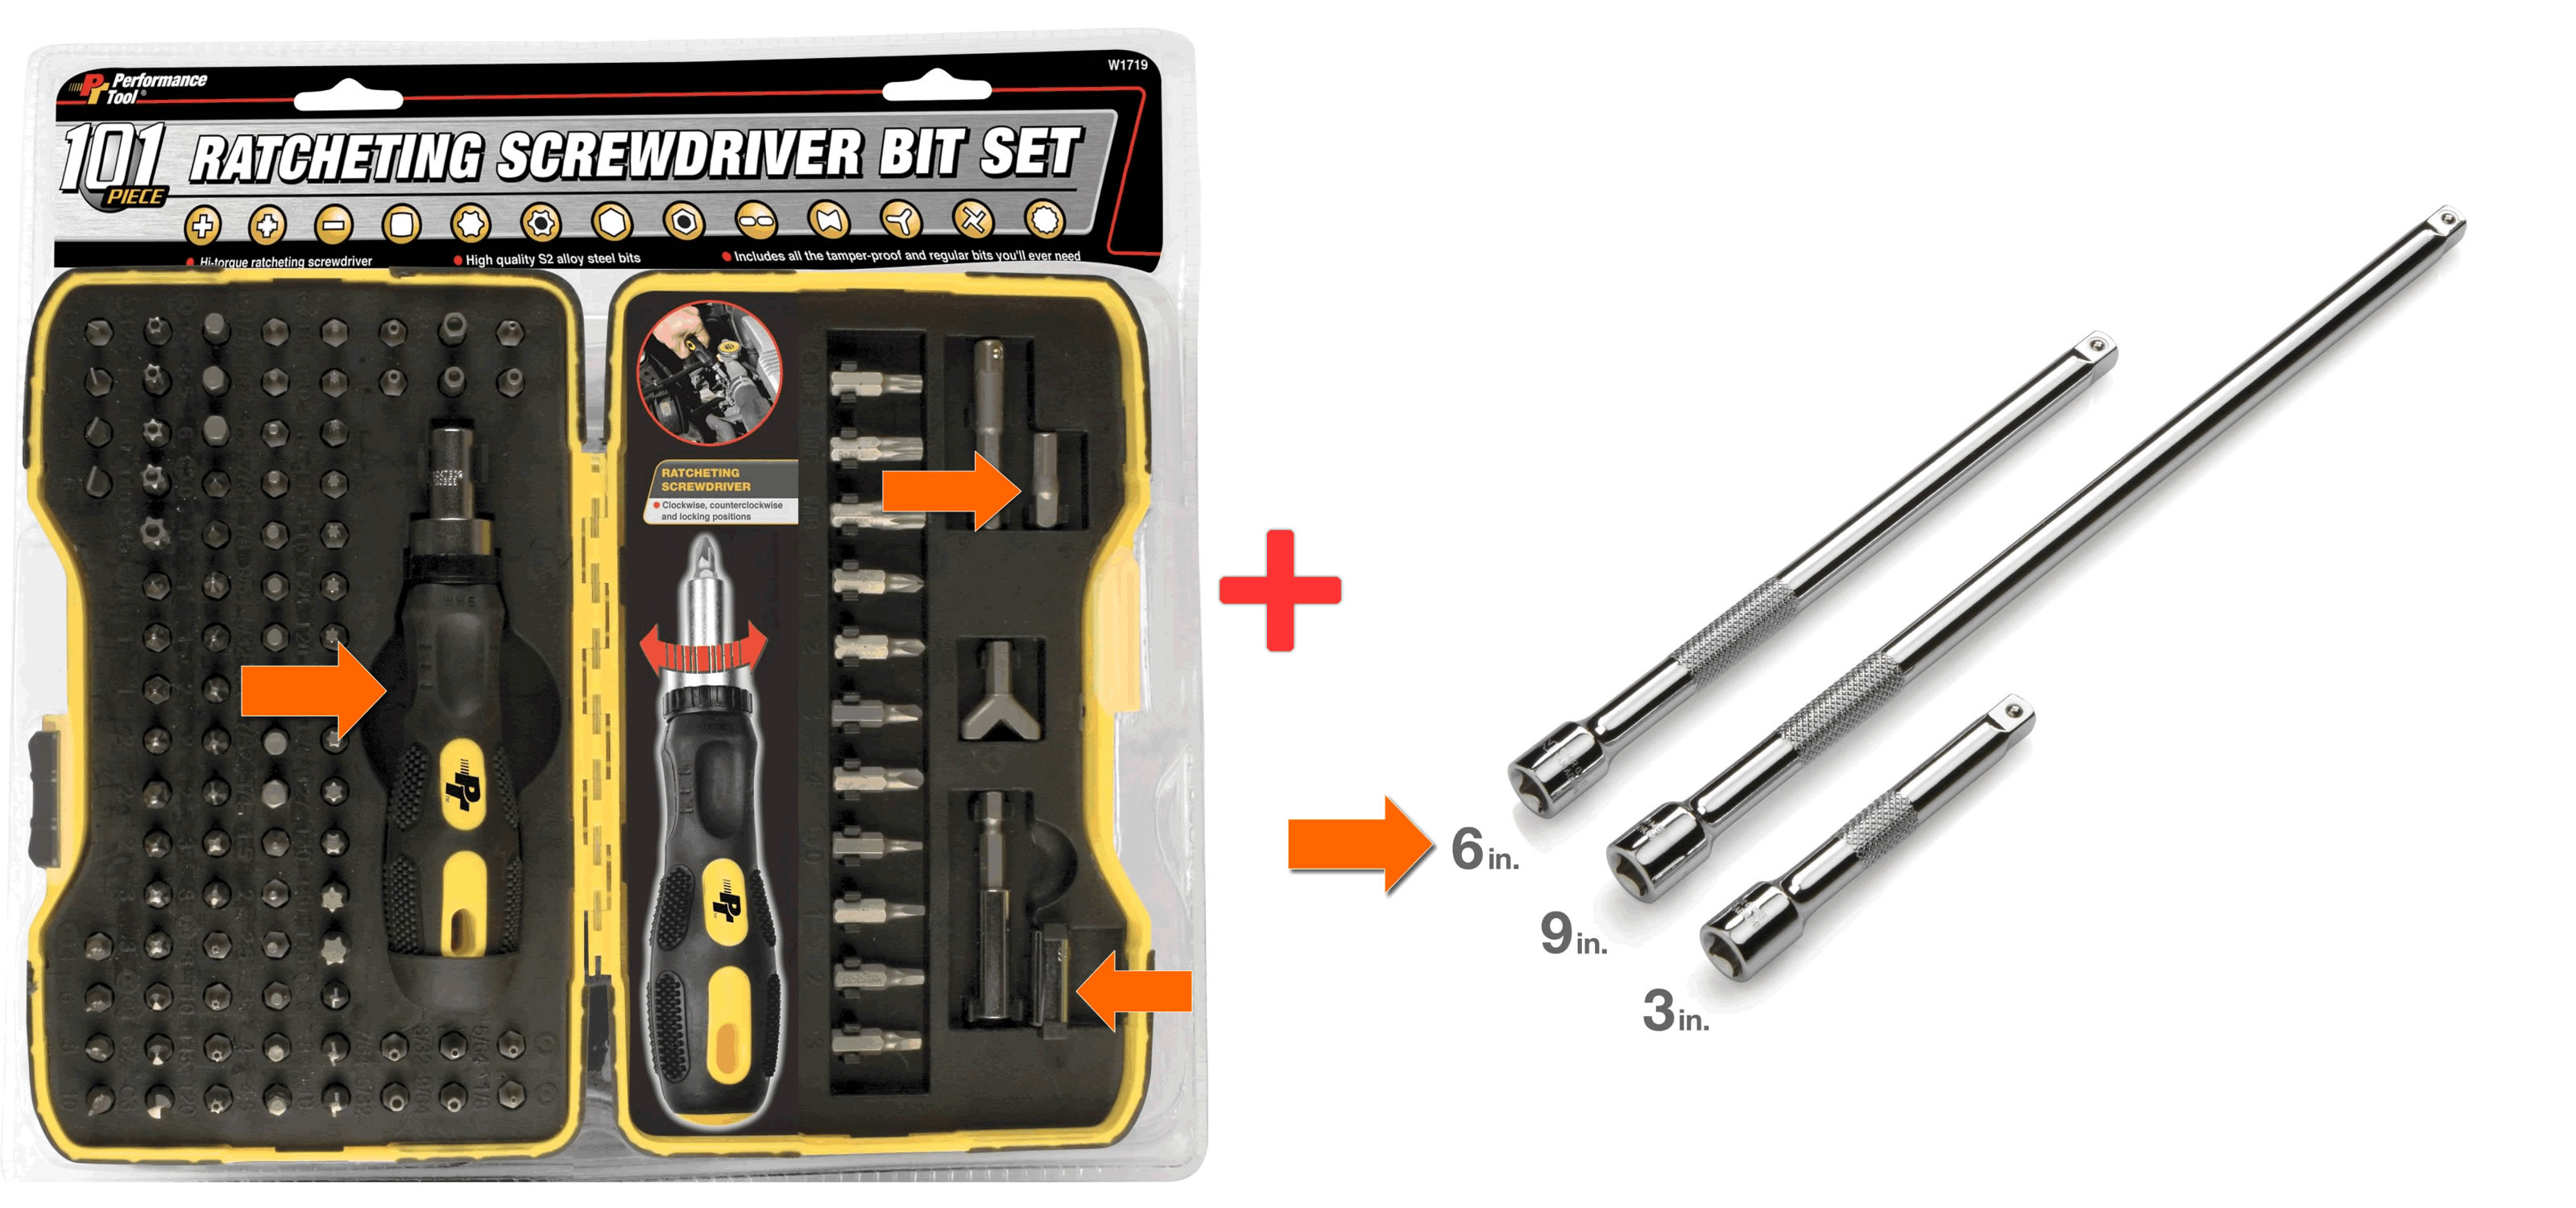
Just like previous DIYs, I’ll be using the Ratcheting 101-Piece Bit Driver Set by Performance Tool to do the disassembly of the sensor. I really love this set because it has pretty much all the odd bits to use on our car. However, all you need are a Torx T20 and drive extension to remove two screws that attach the MAP to the Throttle Body Pipe (also called Air Charge Pipe).
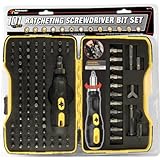
- Ratcheting high torque screwdriver with ergonomic cushion grip
- High quality S2 alloy steel bits in a custom fitted storage case
- 1/4-Inch socket adapter-magnetic bit holder-Phillips-slotted and star-tamper proof star....
- Magnetic tip hold screws in place

- Adds length to access hard-to-reach fasteners
- Knurled bands offer a nonslip grip for turning loosened fasteners by hand
- Spring-loaded detent balls securely latch onto sockets, preventing them from being dropped
- Detent notches in drive ends lock onto ratchets and breaker bars
Then, you will need some rubbing alcohol (isopropyl alcohol) to clean the sensor.

- General all-purpose cleaner
- Safe on plastics
- 99.9 Percent pure anhydrous
- Low toxicity
Optional–because sometimes we drop our screws and tools into the abyss :

- MAGNETIC TIP PICKS UP AND RETRIEVE SMALL LIGHTWEIGHT IRON AND METAL OBJECTS like nails,...
- TELESCOPIC RETRIEVAL TOOL EXTENDS UP TO 26 INCHES. Pickup and retrieve small and...
- BUILT IN LIGHT-UP LED TIP (BATTERY INCLUDED) ILLUMINATES AND LIGHTENS UP AREAS so that you...
- WITH PEN CLIP TOP PERFECT FOR USE AT HOME, LAUNDRY ROOM, IN THE GARAGE, OFFICE, WORKSHOP,...
Remove & Clean The MAP Sensor on Volkswagen 2.0 TSI
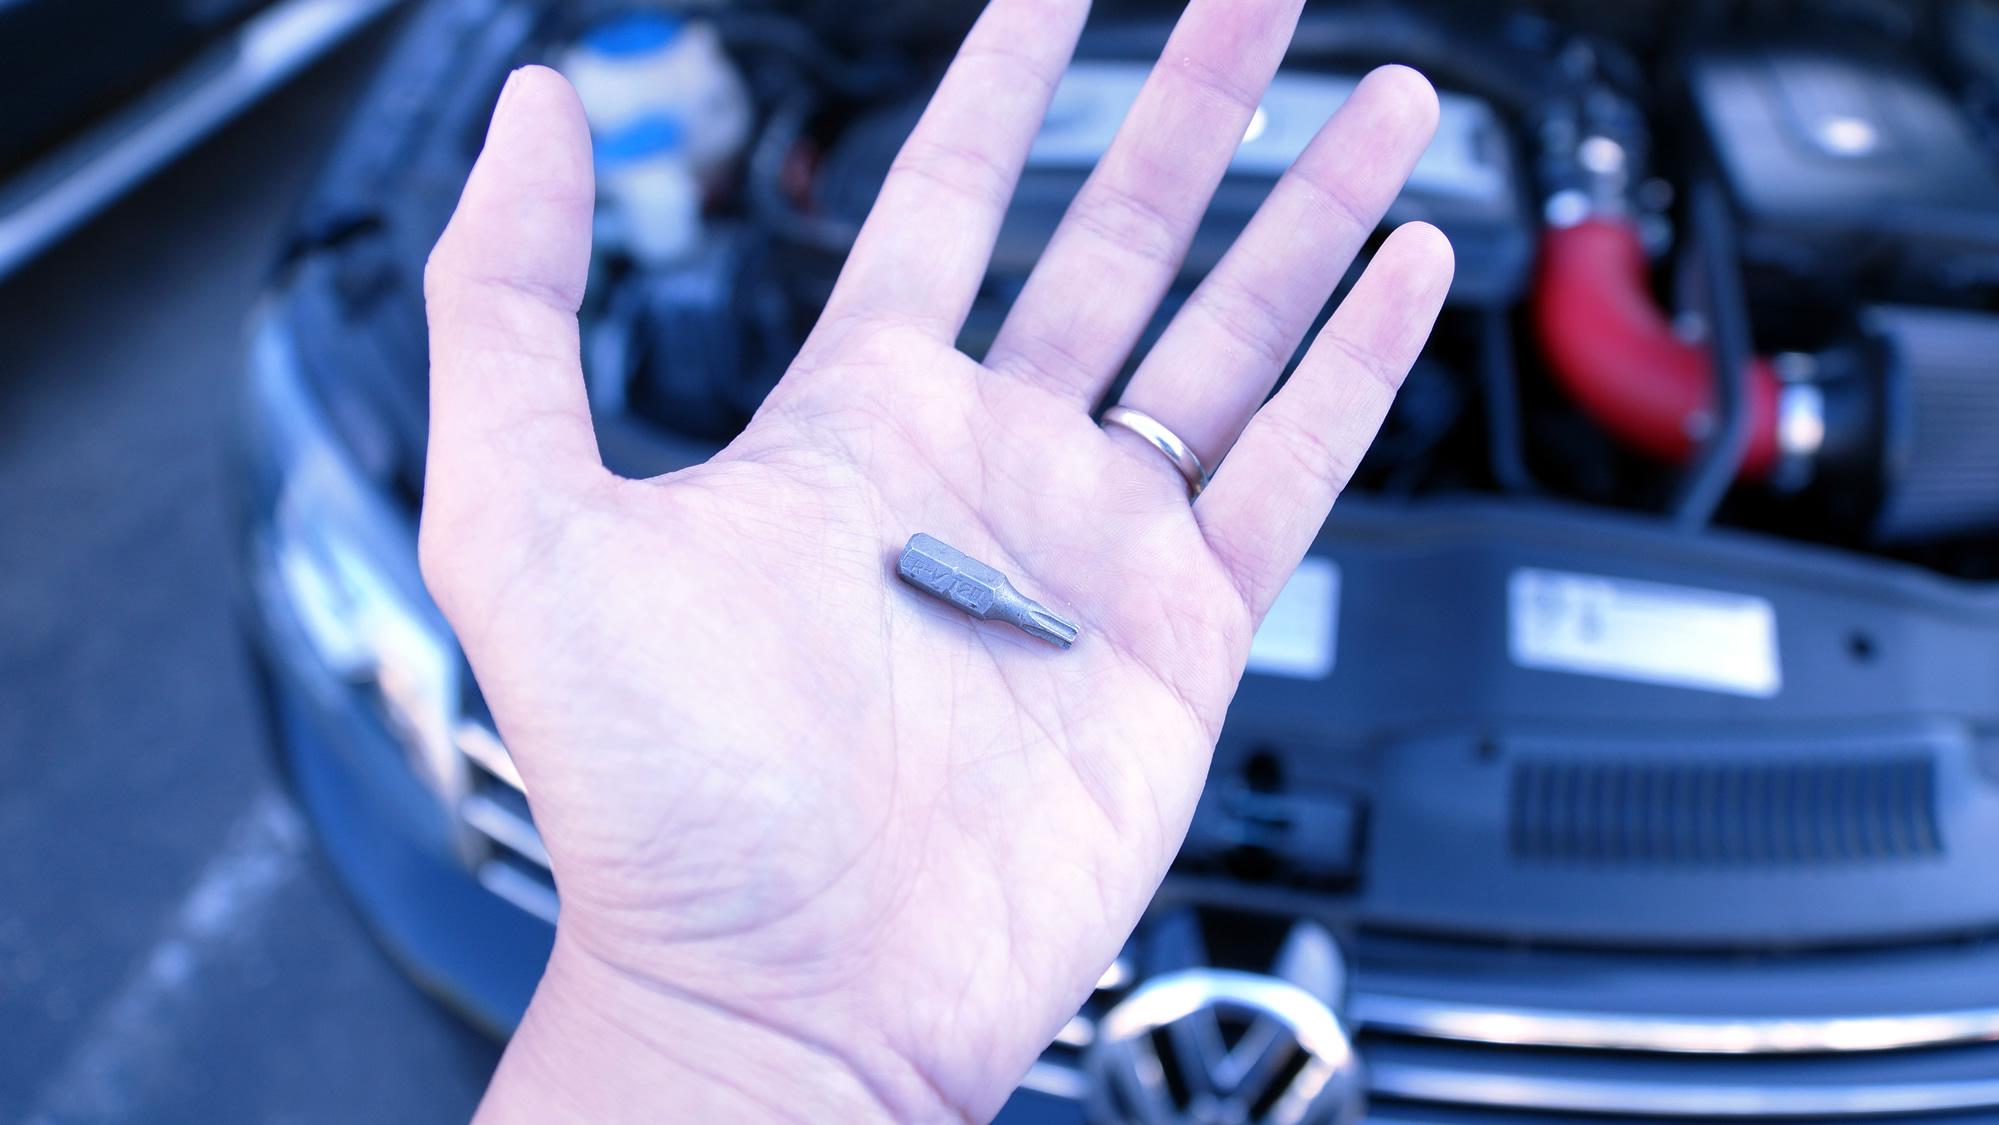
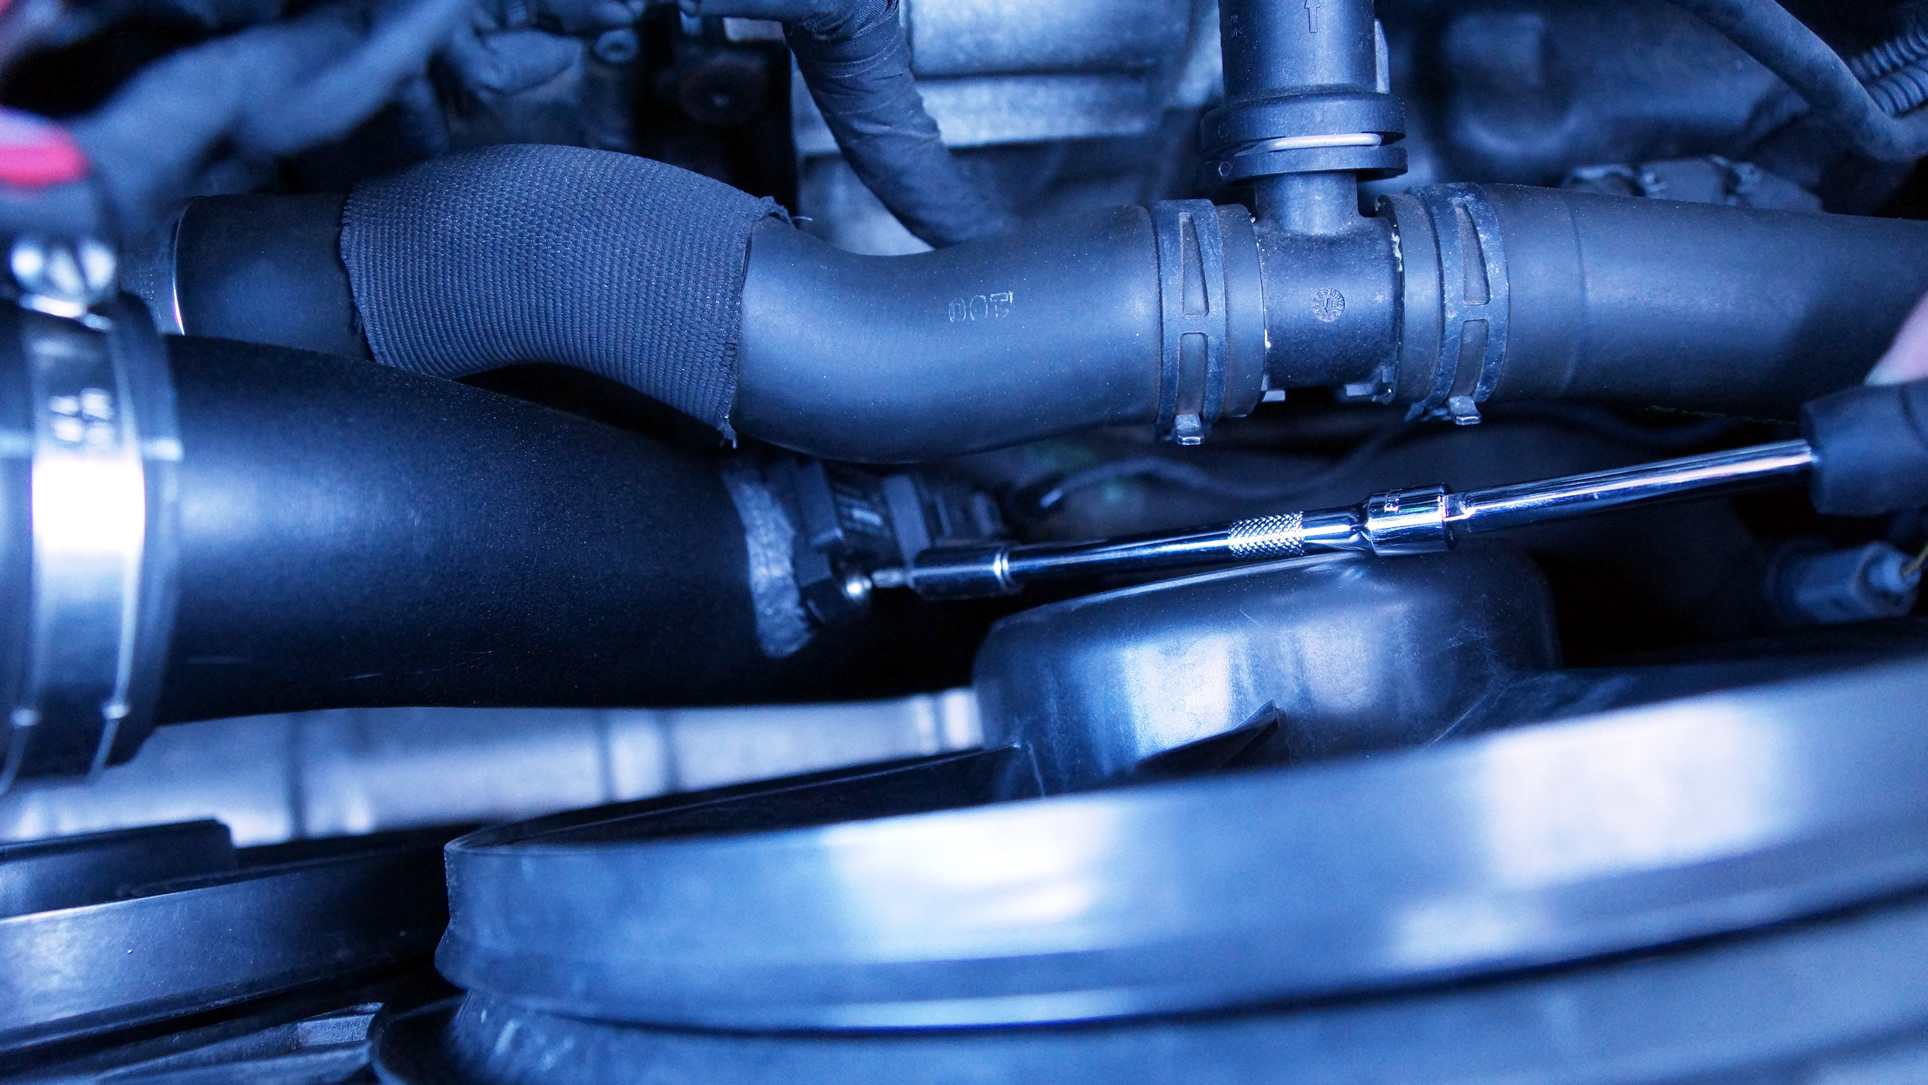
For most first timer, it’s a major headache to be able to remove the MAP screws. They are hidden well below and in a narrow access between the engine and the radiator fans. So, set up your tool now :
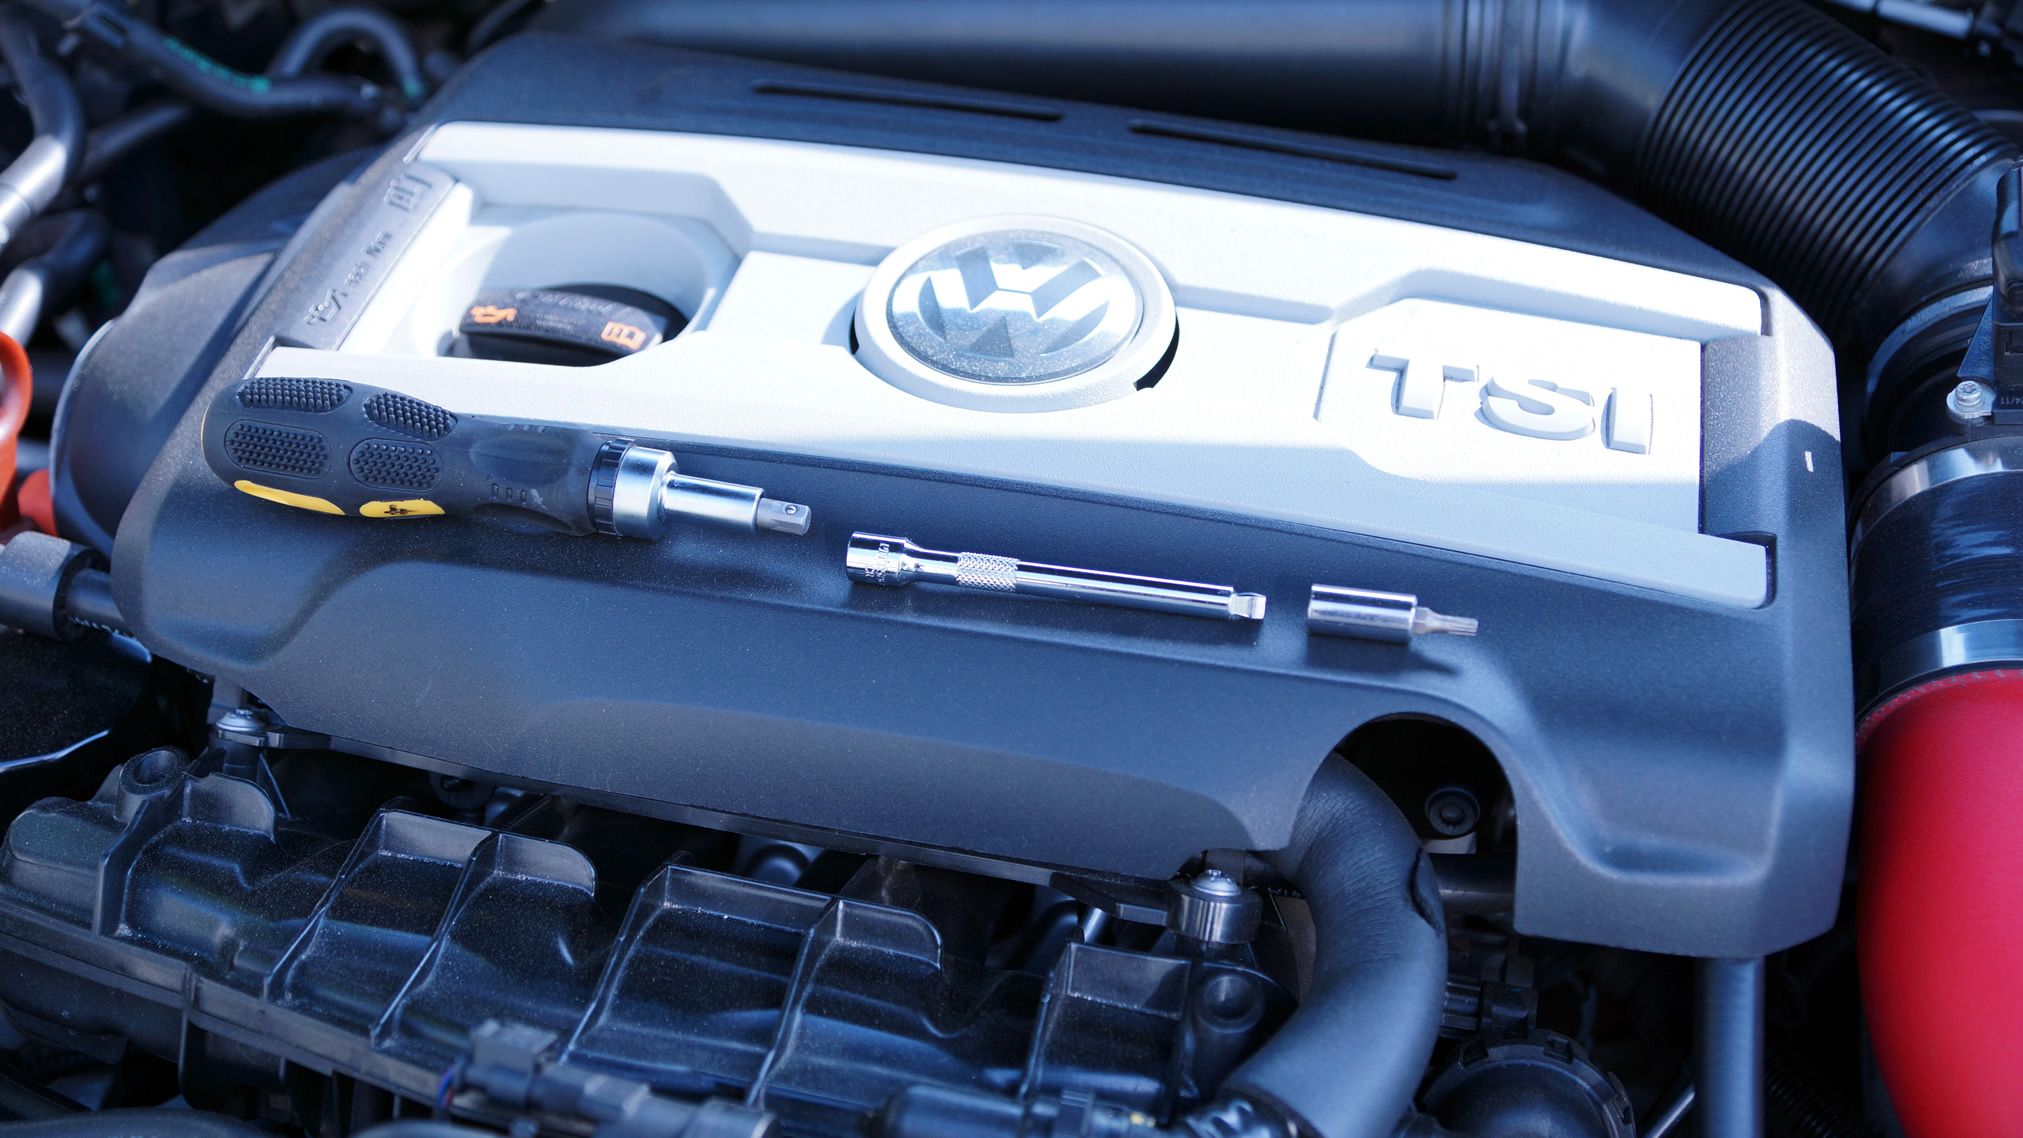
That consists of … T20 bit
..and
Now locate the MAP sensor.
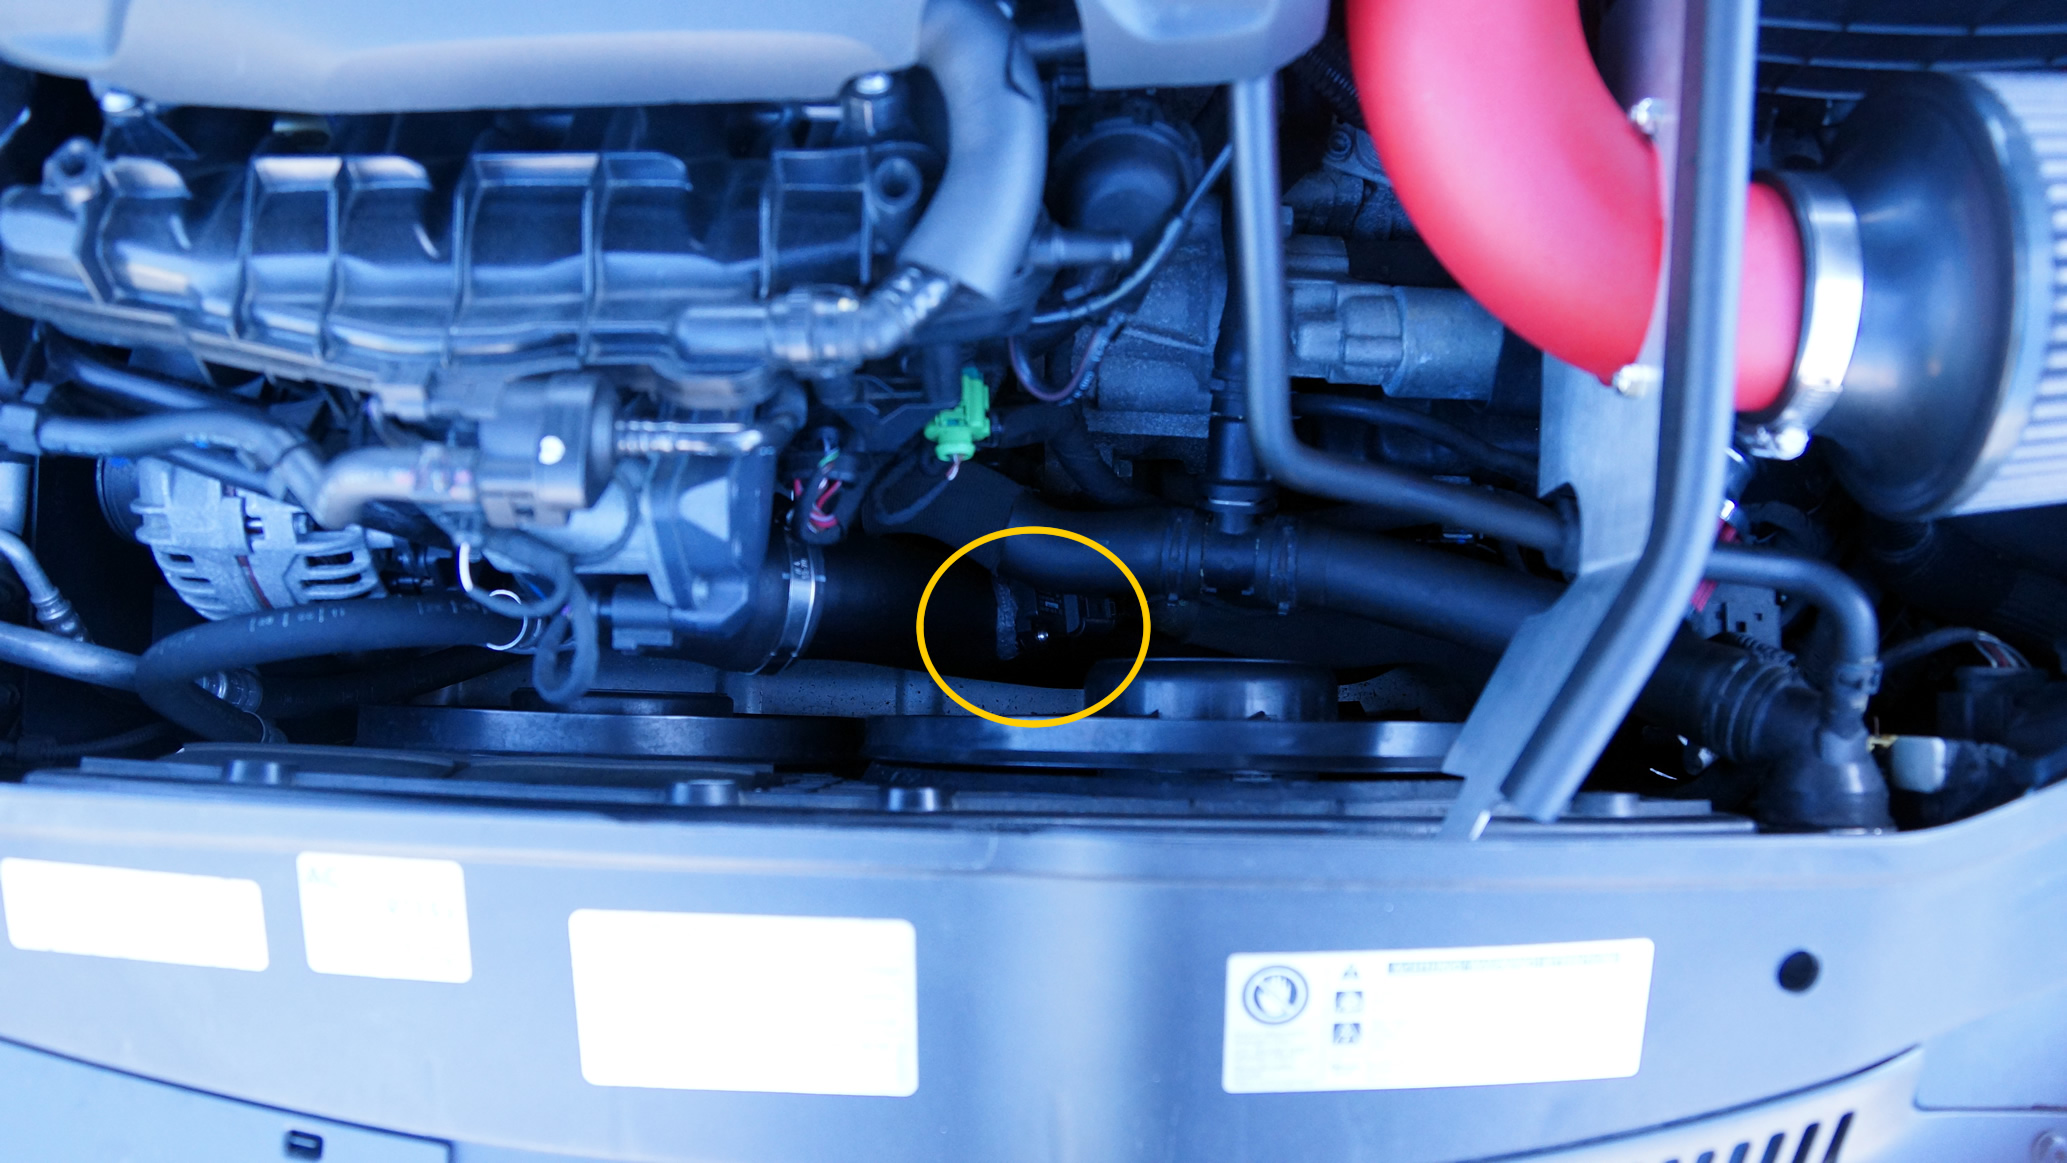
State of the art CSI-level enhanced image.
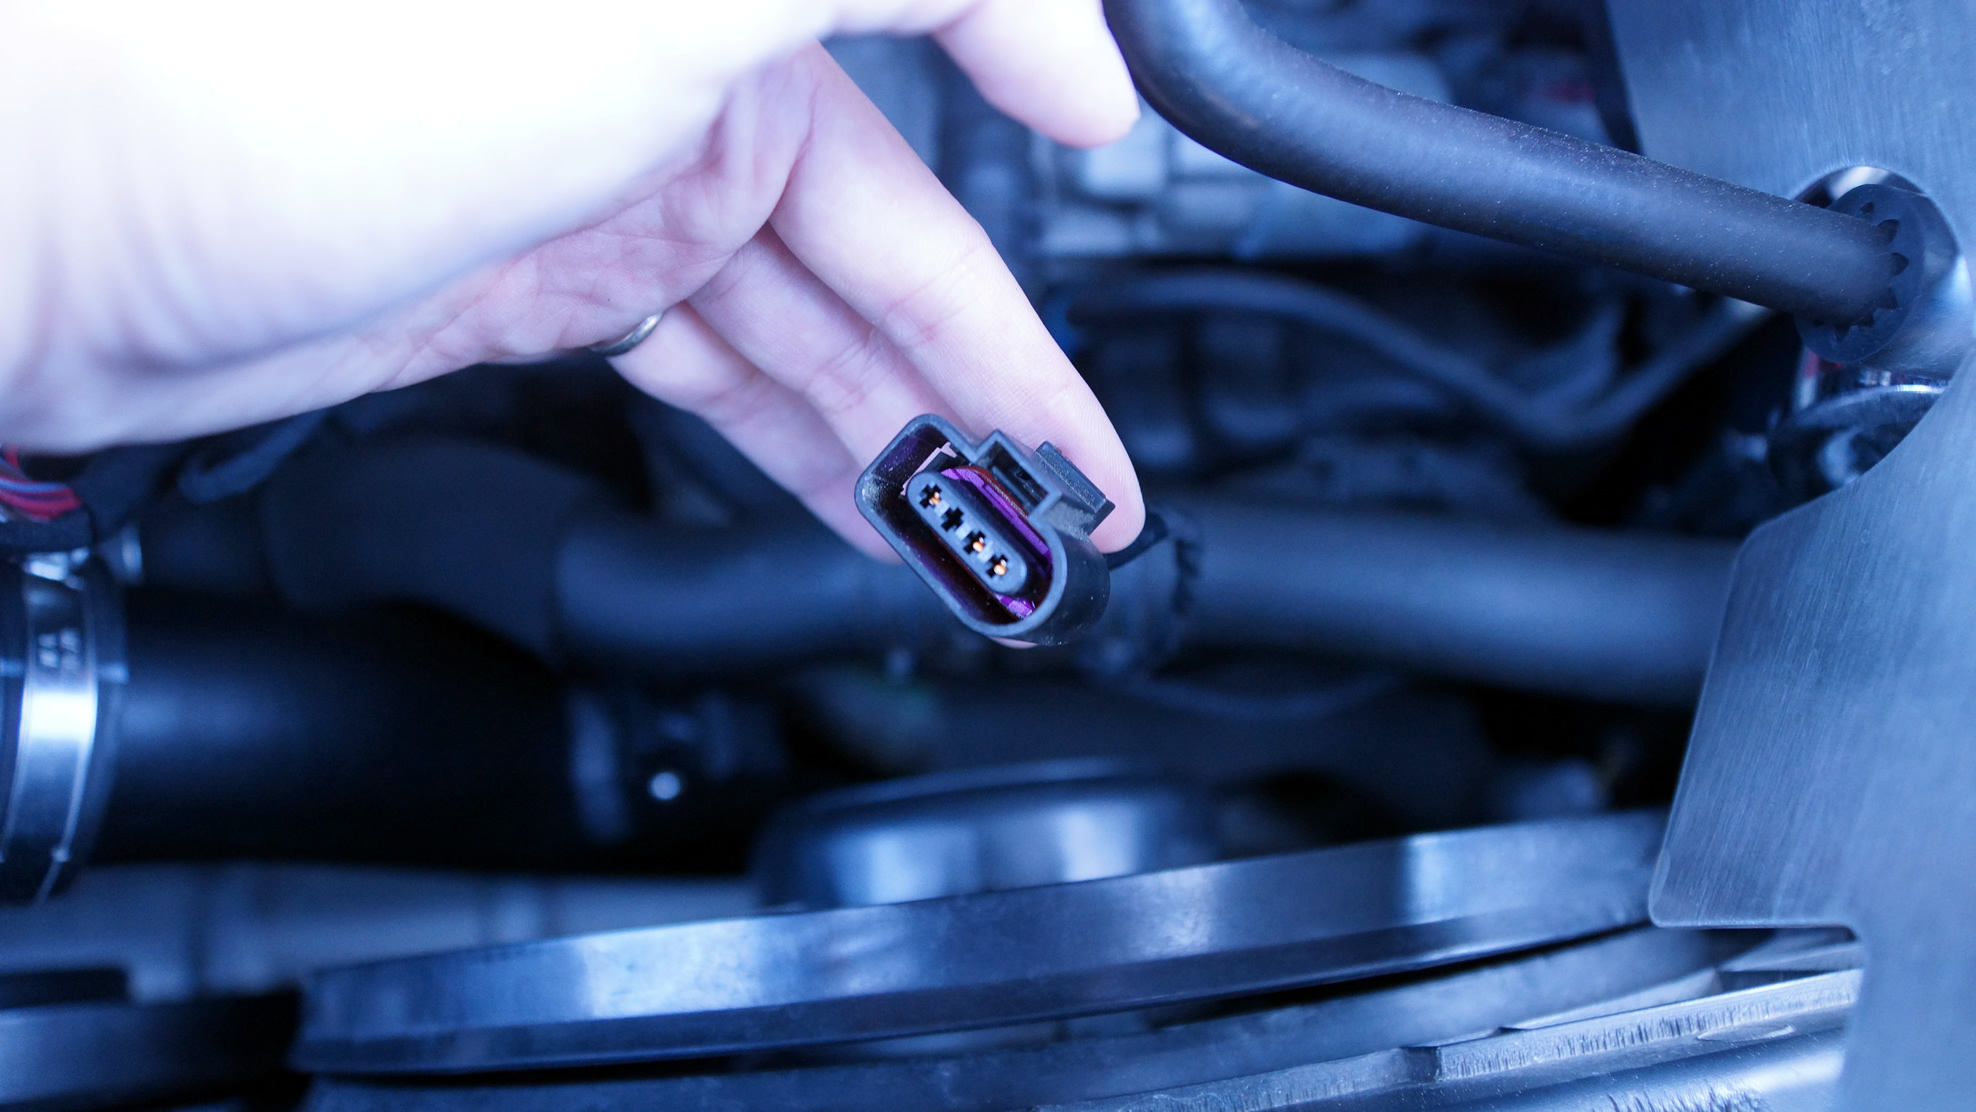
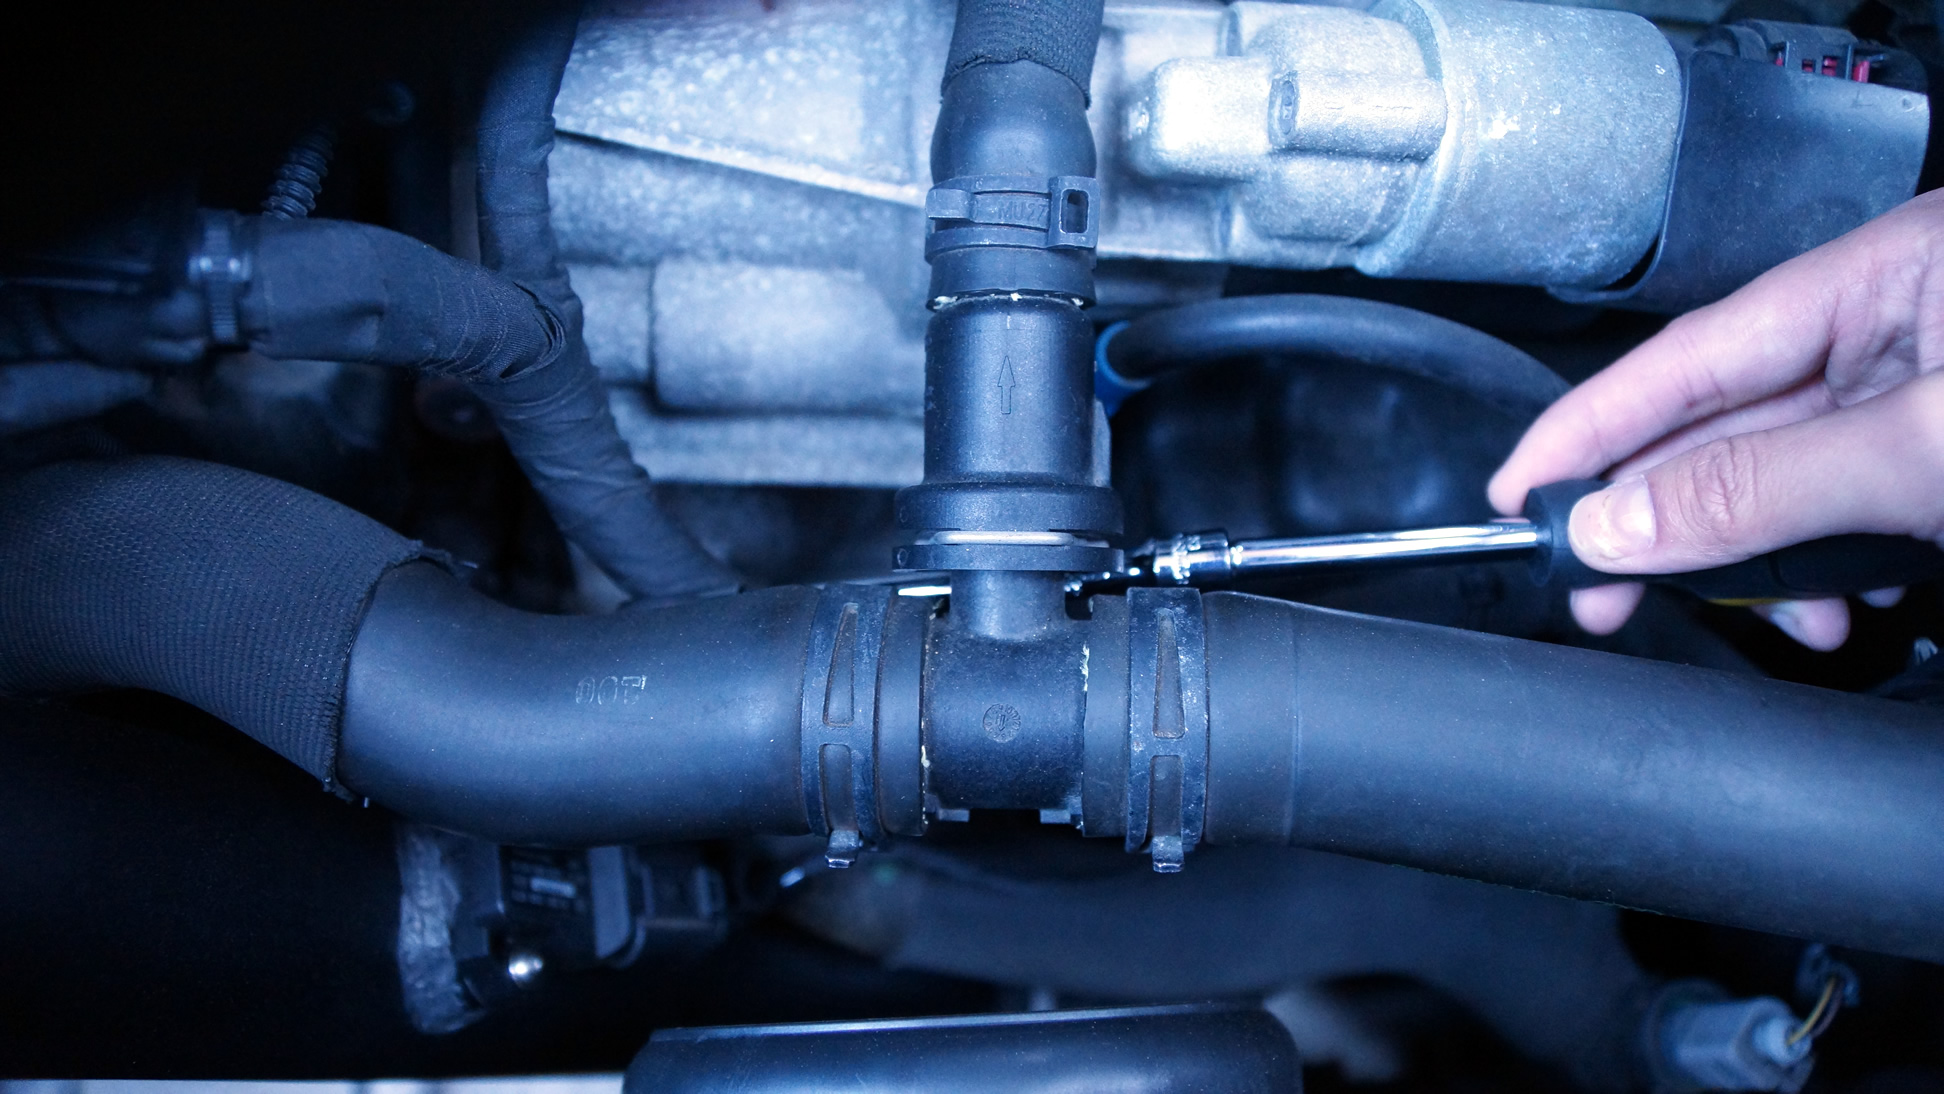
- Disconnect the sensor cable by gentle press down the lock and wiggle the connect base out of its housing. Do not pull the wires.
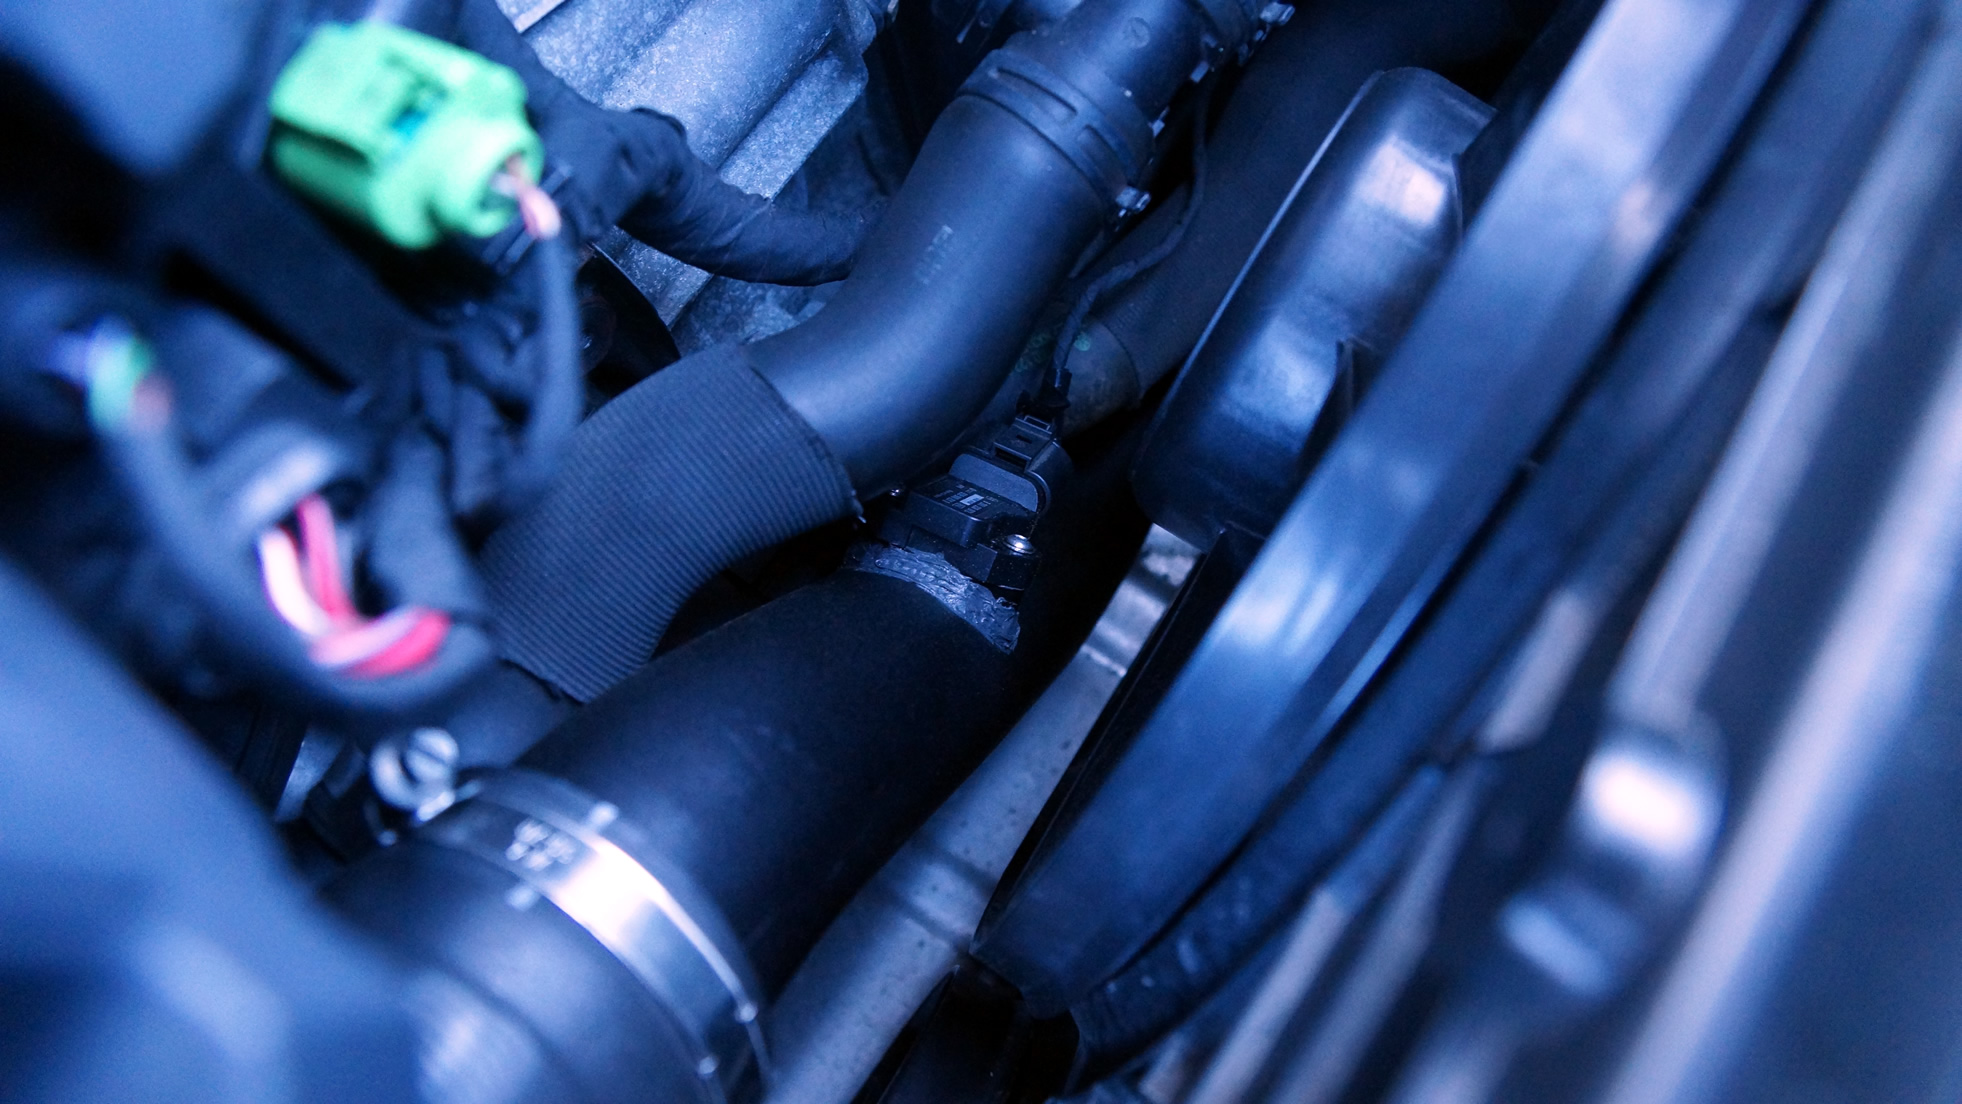
Here’s a better look of the MAP sensor attached to the original Throttle body pipe.

2. Now that you have seen those screws, go ahead and remove yours.
The other one may require more effort, but simply have your screw driver goes undernearth the fuel line.
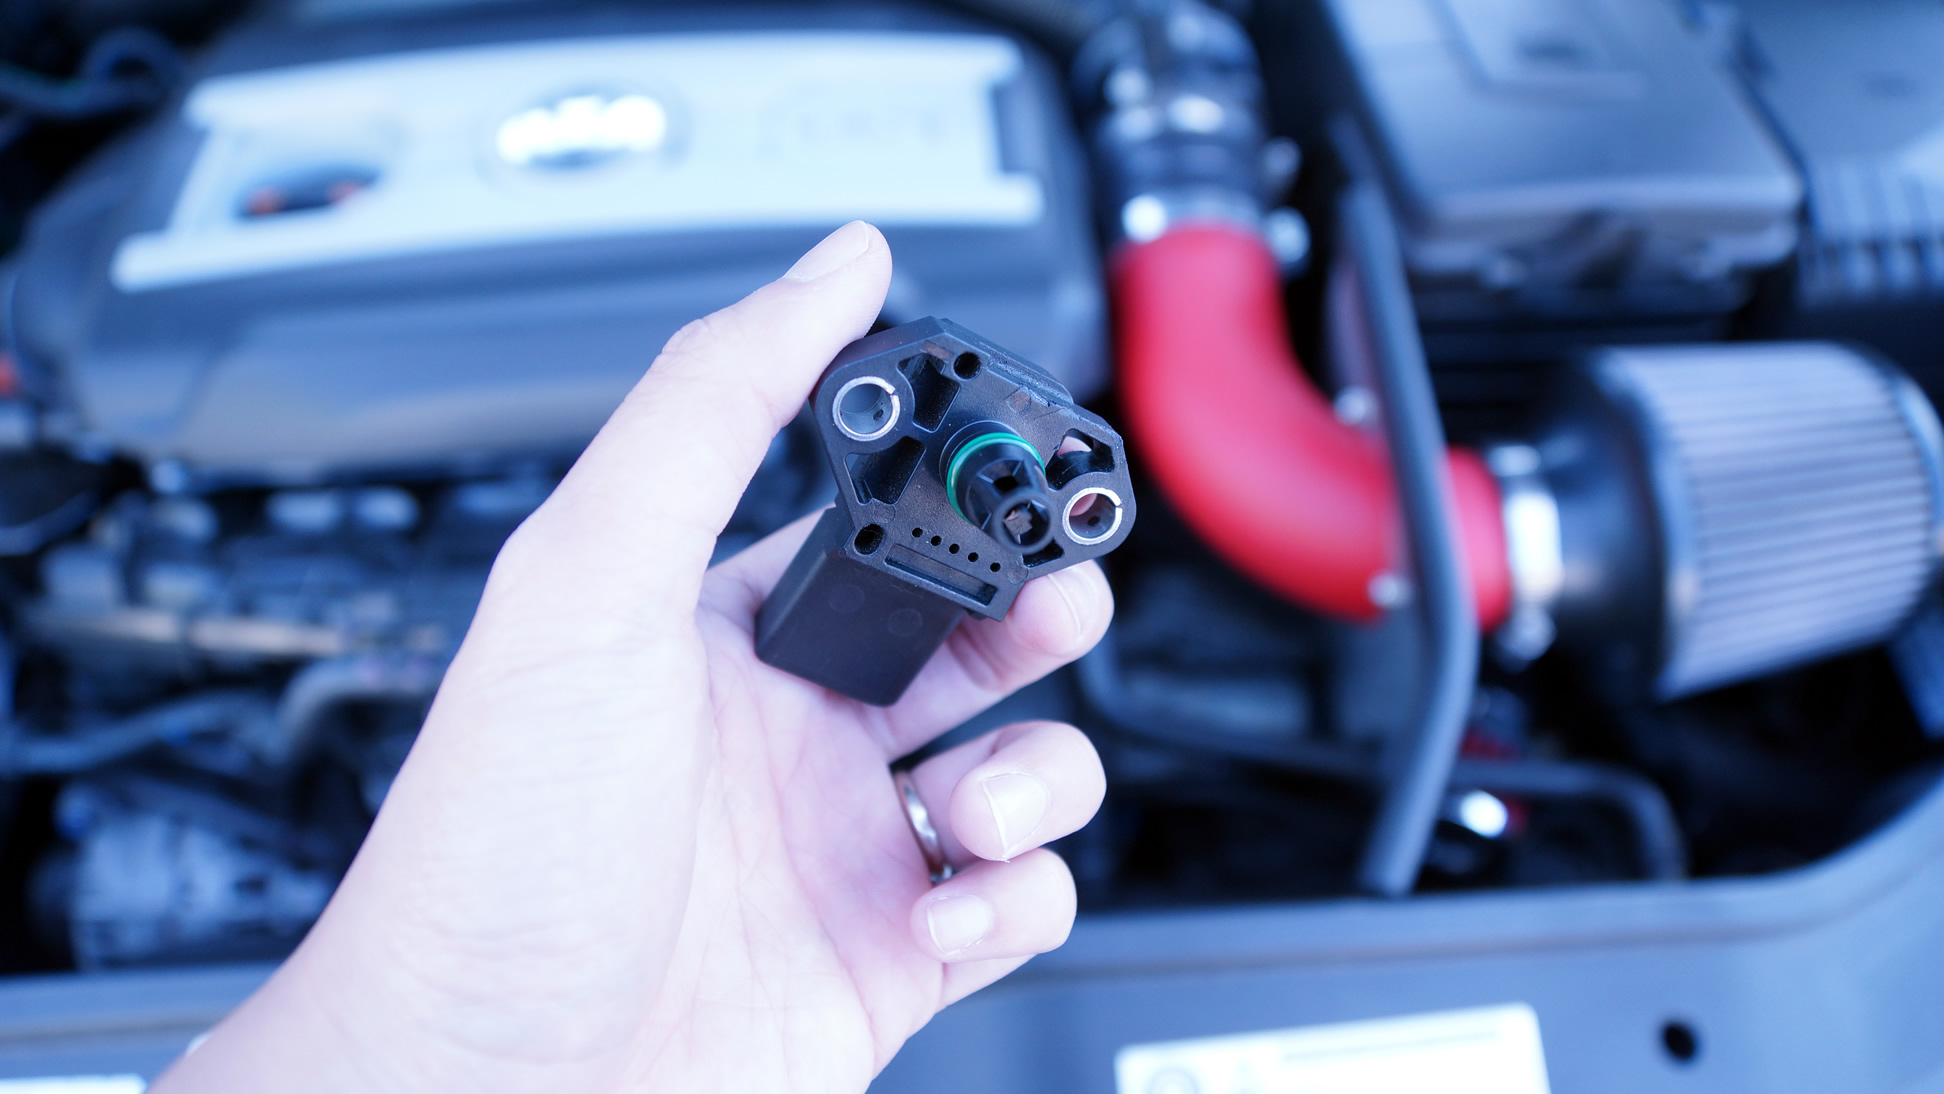
3. Once the screws are off, gentle pull the sensor straight out. The green o-ring may make you think the sensor got stuck but give it a little more pull and you’ll be done.
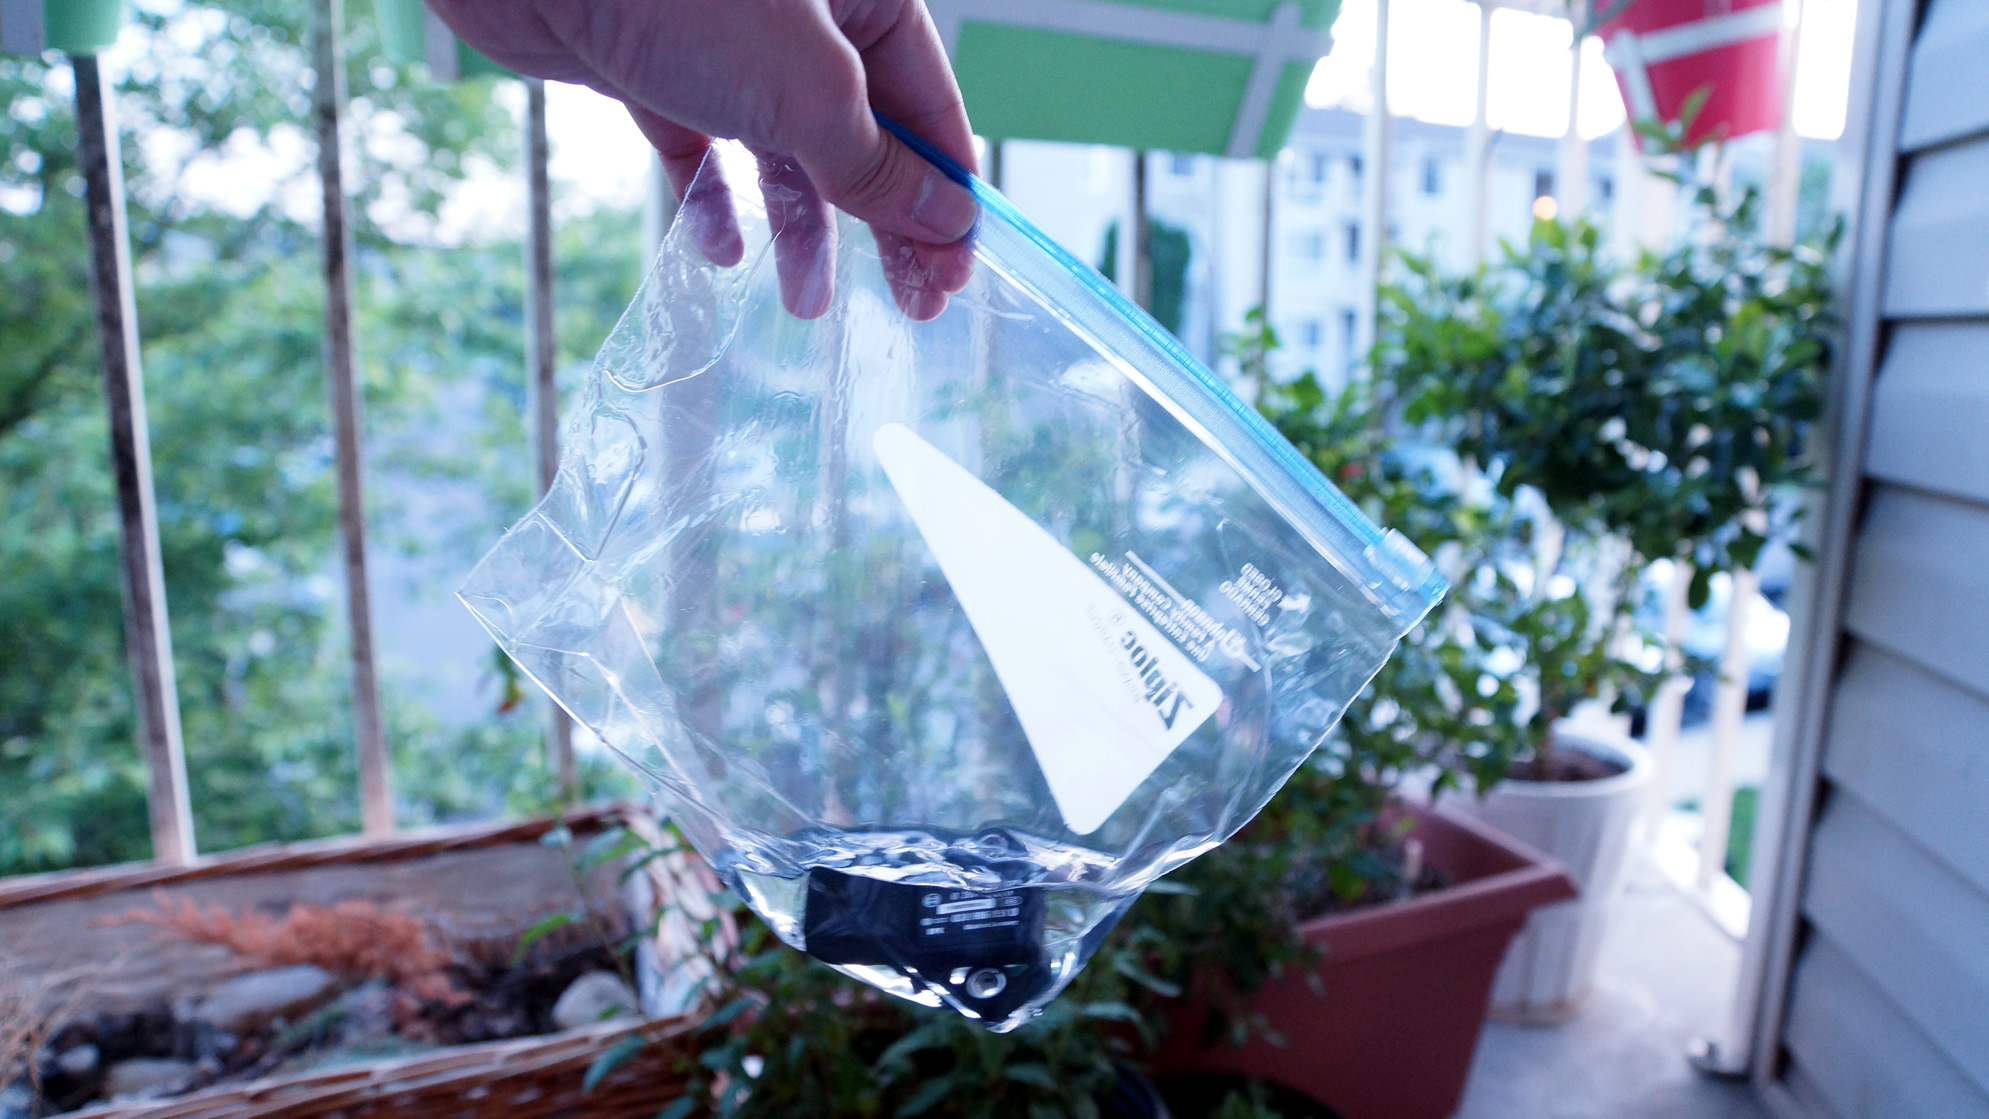
4. Drop your sensor in a Ziploc bag filled with rubbing alcohol. And for the third time of me trying to advertise for ziploc, click here to buy 347 ziploc bags if you don’t have one.
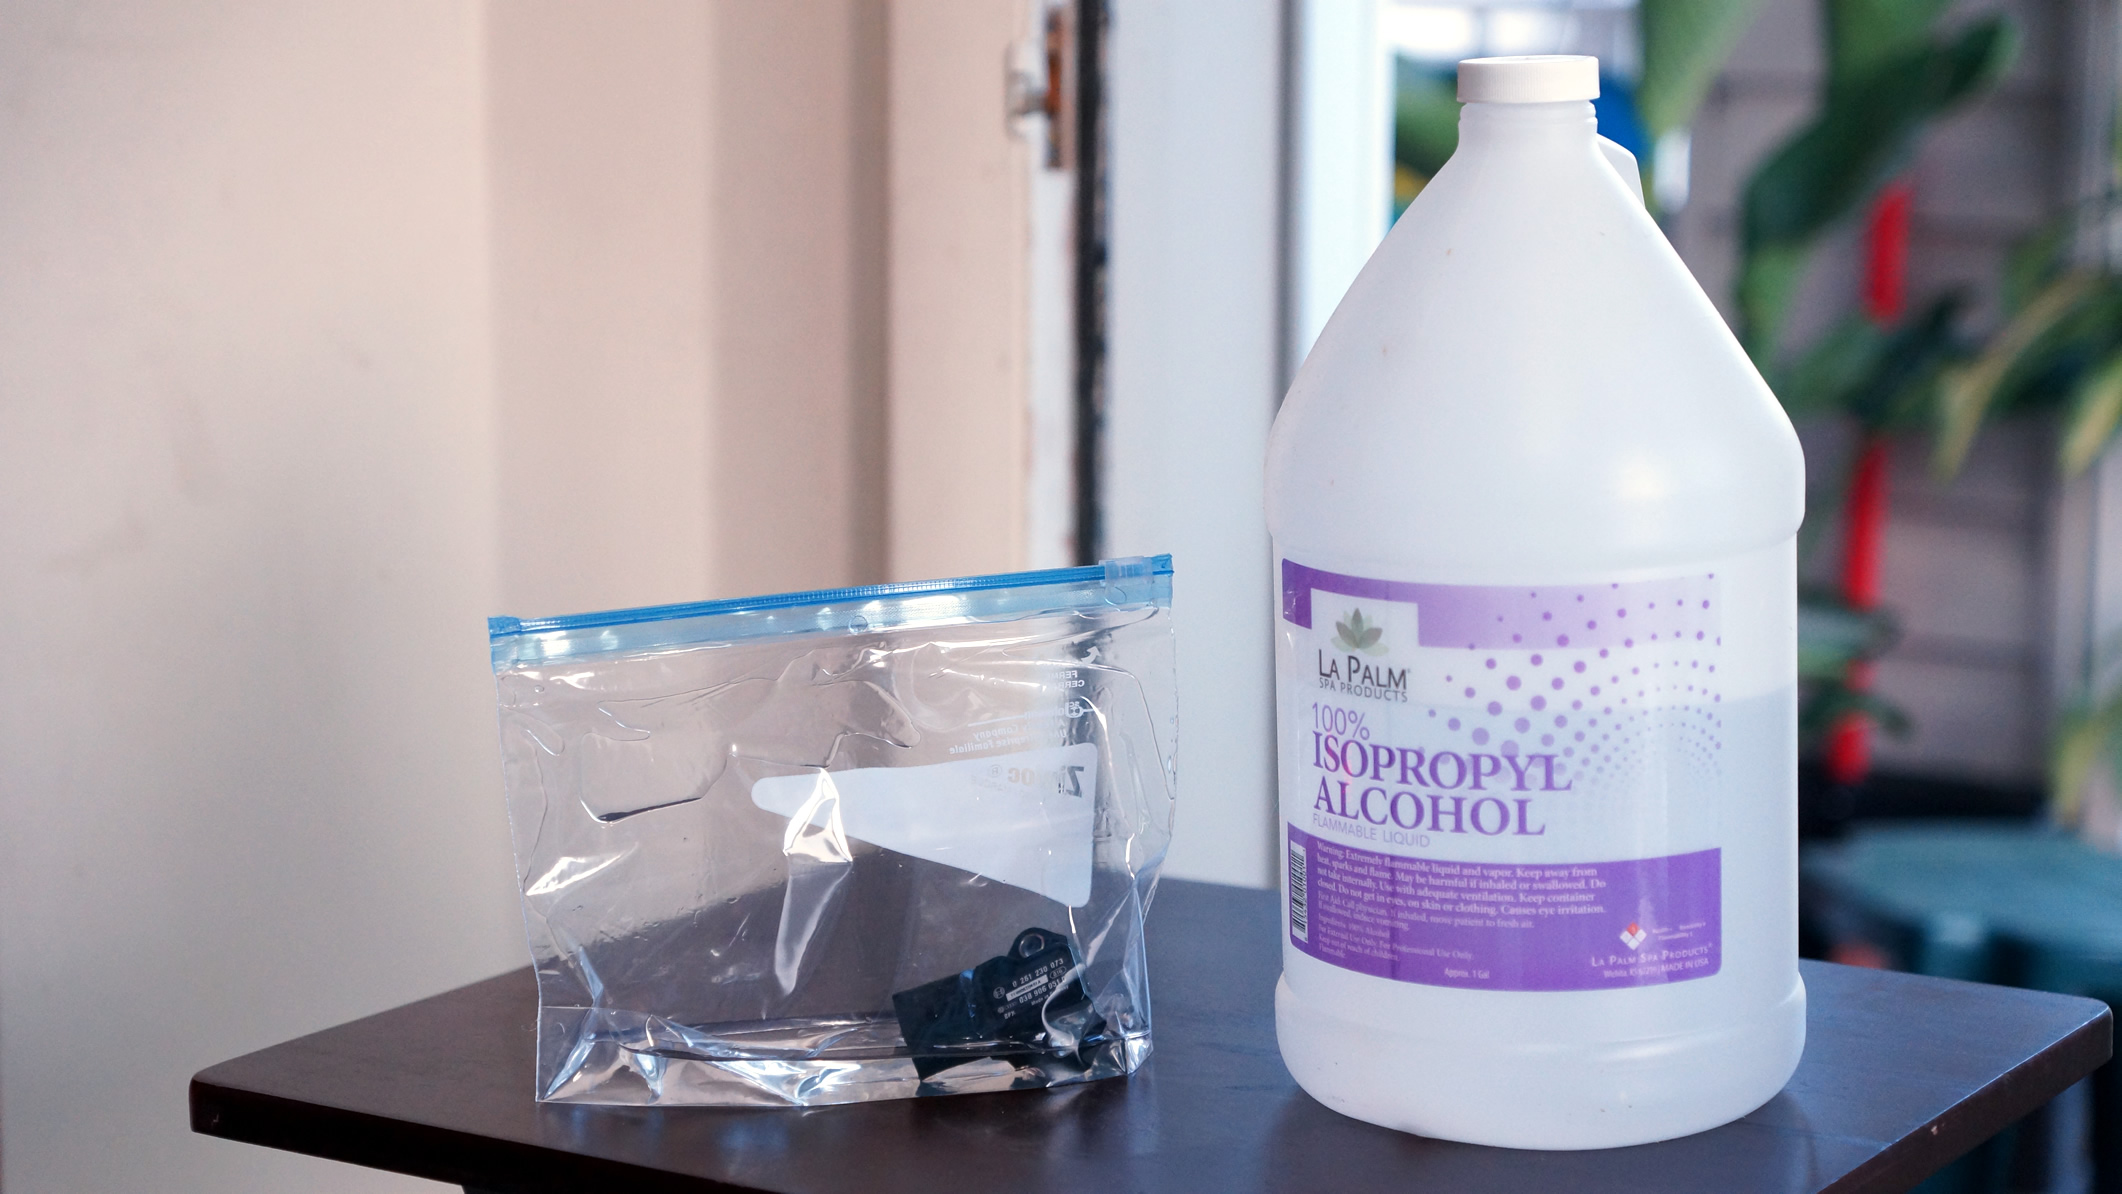
5. Gentle shake the bag to agitate all the dust and debris.
 All done. Reinstall the sensor to the Throttle body pipe, reconnect the wiring cable and you’re ready to go! If your MAP sensor has gone bad and it can’t be serviced, look up for a replacement on Ebay or Amazon. The cost is usually pretty reasonable.
Drop us a comment to let everyone knows if this has helped your car. If you are an Eos owner, be sure to join our Facebook group for community help and more DIY articles in the future.
What’s Next ?
![]() DIY Cleaning Mass Air Flow sensor on your Volkswagen Eos to Restore Lost Power
DIY Cleaning Mass Air Flow sensor on your Volkswagen Eos to Restore Lost Power
![]() Using OBDeleven on Phone to Unlock hidden coding functions for Volkswagen Eos/CC/Passat/Golf
Using OBDeleven on Phone to Unlock hidden coding functions for Volkswagen Eos/CC/Passat/Golf
Do you have any idea why I keep getting the the same code (P108) even just after replacing the MAP sensor?
Do you have a picture of sensor cable wires colors? I destroyed my connector trying to fix it so I tossed it and when I bought a new one they are not color coded so I have no way of knowing where they go. Can you please help/
Erick, post it on the FB group, our members could probably help you a lot faster since I’m out of town right now.